


No, this is not a must situation if you want a review, 5 stars should be suffient.
Easy to order- fast delivery
Exactly what I was looking for.


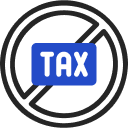 NO SALES TAX (EXCEPT NJ)
 Free shipping to the lower 48 · Ships from the USA
This POS Cash Drawer- Compatible with Square works with the following optional add-on accessories:
Select items to add with your bundle:
Couldn't load pickup availability
 Free Returns
 Lifetime Tech Support
 Same-day Shipping
 Lifetime Guarantee


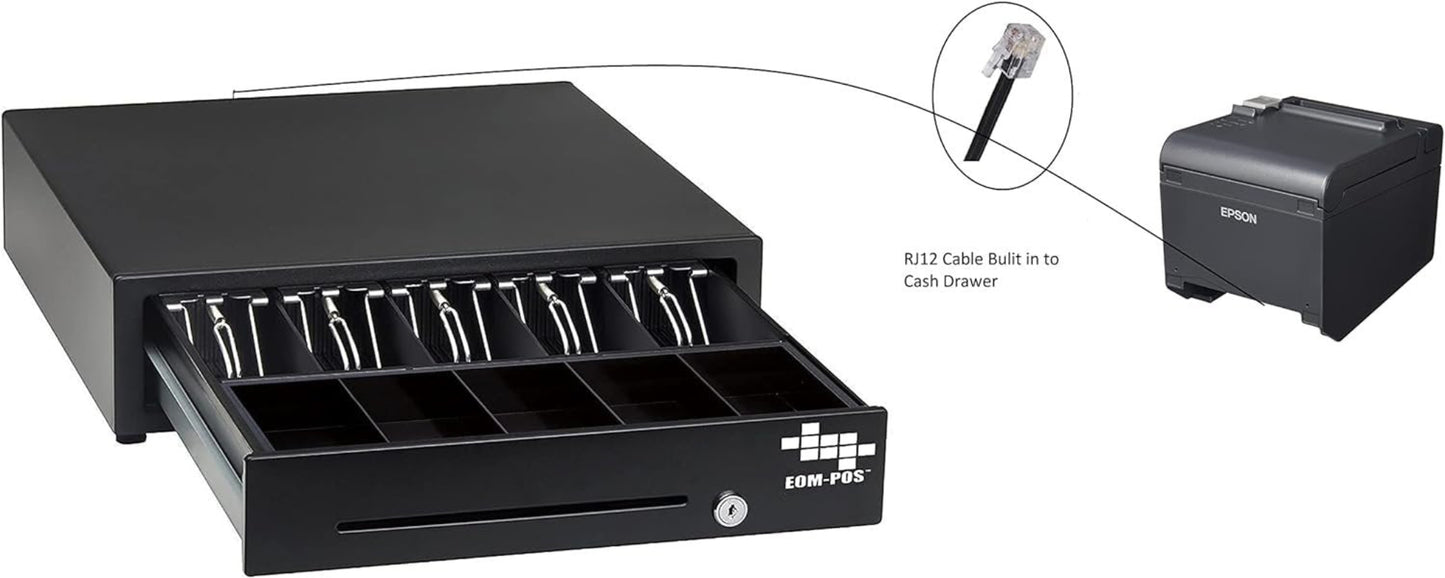
Printer-Driven – Not USB: This is not a USB cash drawer. To use with Square, a compatible receipt printer is required. The built-in RJ11/RJ12 cable (included) connects directly to your receipt printer for automatic drawer opening.
This EOM-POS heavy-duty cash drawer is ideal for retail and point-of-sale environments. It features 5 bill and 5 coin slots with a removable cash tray, steel construction, and a Full Size 16" x 16.5" x 4" footprint.
16" Heavy‑Duty Cash Drawer – 5 Bill / 5 Coin – Printer‑Driven, Square‑Compatible (Receipt Printer Required)
Includes:
Cash drawer
Built-in receipt printer cable
2 keys
Lifetime tech support
2-year full warranty
Perfect for: Retail stores, restaurants, convenience stores, salons, farmers markets, auto repair shops, grocery stores, bakeries, hardware stores, vape shops, gift shops and pop-up shops.
The EOM-100 is a tough, durable steel cash register that connects with any POS system using the cable provided.
Connect it to your Square printer for automatic opening after each transaction.
Manual opening available with the (2) keys provided.
A versatile, robust cash register for reliable cash handling in retail and hospitality businesses.
Durable in high-traffic settings with rubber feet for non-slip stability even where counter space is limited.
Check slot for inserting checks or large bills under coin tray for enhanced security.

7%+ sales tax in some states
Long shipping times
High Shipping Charges
Costly Return Charges
No Sales Tax (except NJ)
Fast, Same Day shipping
Free Shipping
Free Returns